I will admit that I am a closet party planner. I LOVE planning birthday parties for my kids and I LOVE going all out. With two kids, it's really not so bad. I am sure I would feel different if I had more kiddos to plan for. Our rule is that up until they are 6 they get a friend party. After 6 it goes every other year which also makes it easier on me.
I usually max the invite list at 8 because that's all we can squeeze around our table, but this year it was 10 to accommodate all the girls in her preschool and Primary class. It was such a fun group of girls.
Berlin really wanted a Hello Kitty birthday party this year. I really wanted a woodland party. So when she fell in love with the Hello Kitty Stump Village dvd's we found at the library last year, we knew we could combine the two seamlessly.

Setup.... I was up until 2 am making and putting up decorations. Then I went to bed only to wake up by 8am to get the final touches on. Needless to say, I was pooped by the time the party ended that afternoon.


I found these darling trays and plates at Target in the dollar bin months ago (they were the basis of my ideas for a woodland party). The girls got to choose one as they were leaving with their parents. I just love these. They make me happy.


These were the strawberry-lemon Hello Kitty Cake Pops that Berlin helped me make. This was my first time working with a food-safe marker. Yeah. Lame. For being a brand new "marker", it was really dry and I just didn't like it. It wasn't dark enough and if I tried to go over the whiskers a second time, it just make it look worse. Oh well, they still turned out pretty good.

When the girls first arrived we had them put on some of my old t-shirts and aprons so they could paint some cute birdhouses I found in the dollar bin at Joann's. This was our painting station.

All the little painters hard at work. Their finished birdhouses turned out so cute! We did this first so they could dry during the rest of the party.

Once dry I put them in cello bags to protect them.

Pin the nose on Hello Kitty was up next. Ryan made the sweet vinyl for the window. It's HUGE but it was perfect. Now it's hanging on the wall behind Berlin's headboard.


Finley getting his turn ... FINALLY! He waited so patiently for all the girls to go first. The girls all thought he would be the closest and win, but his Hello Kitty nose ended up the farthest away.


The girls all wanted Ryan to take a turn ... so they kept spinning and spinning and spinning him around! Then they pushed him to the target. I guess they didn't want to see him fail :). And they were laughing hysterically the whole time.


Then we ate lunch: PB&J sandwiches, chips, fresh strawberries, bananas, and blueberries with whipped cream, all washed down with lemonade. YUM!
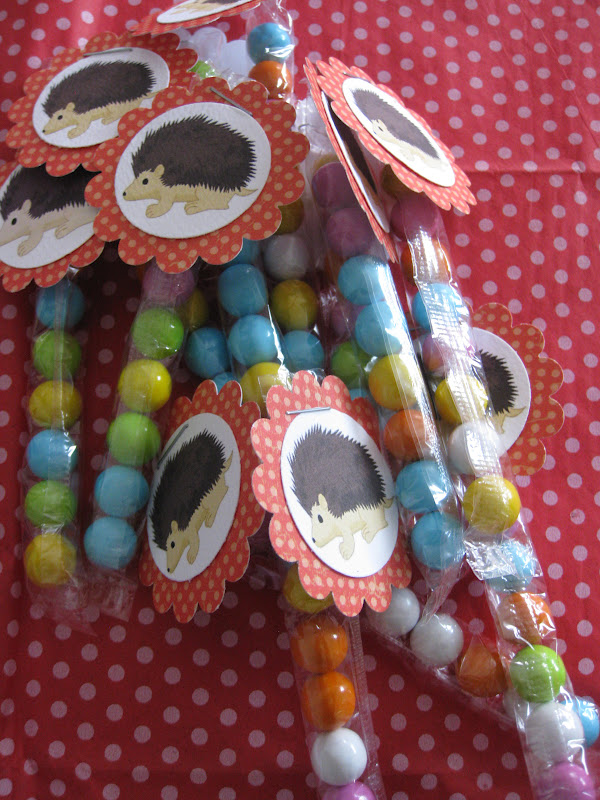
These are the scavenger hunt prizes. There were 4 brown bags with different animals on them: an Owl (woodland erasers), a Hedgehog (sixlets), Mushrooms (pixie sticks), and a Squirrel (trail mix). Ryan hid these in our back field, then gave clues to the girls so they could find them. It was so cute to watch them running around.




Finley watching the hunt go down.
After the hunt the kids came inside to warm up and give Berlin their cute presents. One of the hit presents was a can of glitter hair spray. The minute the girls saw it they wanted to open it and spray it in their hair. So we took them back outside on the deck and sprayed it all over their hair. It was so much fun!

The girls in the picture above are all looking at Finley - who's wearing the ribbons from the presents on his head. Ryan seems to have started something here. The girls thought it was the greatest. Finley of course loved the attention. Such a ham!
Enjoying the cake pops and vanilla ice-cream with sprinkles on top. My friend told this GREAT idea to cut down prep time during the party. I scooped out all the ice-cream in little cups that morning, added sprinkles, then stuck them in a cupcake pan (the cups I got fit perfectly) and put it back in the freezer. Then, when it was time we just pulled out the cupcake pan and handed them out. SOOOOO nice & easy!

While we waited for the parents to arrive we let them pick out a Hello Kitty tattoo and put them on their hands/arms. And that wrapped up the party! It was such a lovely day and we thank our cute little friends who helped make it so much fun!
A huge shout out to Ryan who is AMAZING with the kids. He helped with all the games and made that awesome vinyl Hello Kitty Head. He isn't afraid to get silly with the kids and they love it too. And another shout out to my sister Val. She is at every party without fail helping setup, take pictures, cleanup, entertain, and just deal with the mass chaos kid parties bring. She is wonderful for this and for so many other reasons. But Finley was the sweetest of all. He was such a good helper with the girls. While I was answering the door, he found aprons for some of the girls and helped them put them on and tie them. He was like everyone's big brother, willing to lend a hand. Sure do love that kid!